Sekarang kita akan membuat komponen baru untuk tombol Add to Cart. Mungkin teman-teman bertanya, mengapa kita membuat komponen baru padahal sebelumnya sudah pernah membuatnya? Alasannya adalah karena gaya (style) tombol yang akan kita gunakan kali ini akan berbeda.
Langkah 1 - Membuat Component Button Add to Cart Full
Silahkan teman-teman jalankan perintah berikut ini di dalam terminal/CMD dan pastikan berada di dalam project Laravel-nya.
        go


     php artisan make:livewire Web/Cart/BtnAddToCartFull
Jika perintah di atas berhasil dijalankan, maka kita akan mendapatkan 2 file baru, yaitu:
- Class Component:
app/Livewire/Web/Cart/BtnAddToCartFull.php - View Component:
resources/views/livewire/web/cart/btn-add-to-cart-full.blade.php
Langkah 2 - Menambahkan Fungsi Add to Cart
Sekarang kita akan menambahkan sebuah method yang berfungsi untuk melakukan proses add to cart atau memasukkan data product ke keranjang belanja.
Silahkan buka file app/Livewire/Web/Cart/BtnAddToCartFull.php, kemudian ubah semua kode-nya menjadi seperti berikut ini.
        php


     <?php

namespace App\Livewire\Web\Cart;

use App\Models\Cart;
use Livewire\Component;

class BtnAddToCartFull extends Component
{
    /**
     * product_id
     *
     * @var mixed
     */
    public $product_id;

    /**
     * addToCart
     *
     * @param  mixed $product_id
     * @return void
     */
    public function addToCart()
    {
        //check user is logged in
        if(!auth()->guard('customer')->check()) {

            session()->flash('warning', 'Silahkan login terlebih dahulu');

            return $this->redirect('/login', navigate: true);
        }

        //check cart
        $item = Cart::where('product_id', $this->product_id)
                    ->where('customer_id', auth()->guard('customer')->user()->id)
                    ->first();

        //if cart already exist
        if ($item) {

            //update cart qty
            $item->increment('qty');

        } else {

            //store cart
            $item = Cart::create([
                'customer_id'   => auth()->guard('customer')->user()->id,
                'product_id'    => $this->product_id,
                'qty'           => 1
            ]);

        }

        // session flash
        session()->flash('success', 'Produk ditambahkan ke keranjang');

        //redirect to cart
        return $this->redirect('/cart', navigate: true);

    }

    /**
     * render
     *
     * @return void
     */
    public function render()
    {
        return view('livewire.web.cart.btn-add-to-cart-full');
    }
}
Dari perubahan kode di atas, pertama kita import Model Cart.
        perl


     use App\Models\Cart;
Kemudian di dalam class kita membuat public properti.
        php


     public $product_id;
Selanjutnya, kita membuat method yang bernama addToCart, method ini akan dijalankan ketika button add to cart diklik.
        csharp


     public function addToCart()
{

	//...

}
Di dalamnya, pertama kita akan cek apakah customer sudah login atau belum, jika belum maka akan kita redirect ke halaman login terlebih dahulu.
        scss


     //check user is logged in
if(!auth()->guard('customer')->check()) {

    session()->flash('warning', 'Silahkan login terlebih dahulu');

    return $this->redirect('/login', navigate: true);

}
Jika customer sudah login, maka akan menjalankan kode dibawahnya, yaitu mengecek data cart di dalam table database berdasarkan product_id yang dikirimkan dan customer_id.
        php


     //check cart
$item = Cart::where('product_id', $this->product_id)
    ->where('customer_id', auth()->guard('customer')->user()->id)
    ->first();
Jika data cart ada, artinya kita cukup mengupdate qty di dalam cart. Disini kita menggunakan fitur yang bernama increment dari Laravel.
        php


     //update cart qty
$item->increment('qty');
Tapi jika data cart tidak ada, maka kita akan insert ke dalam database menggunakan Model.
        php


     //store cart
$item = Cart::create([
    'customer_id'   => auth()->guard('customer')->user()->id,
    'product_id'    => $this->product_id,
    'qty'           => 1
]);
Setelah itu, kita buat session flash dengan status success dan kita redirect ke halaman /carts.
        kotlin


     // session flash
session()->flash('success', 'Produk ditambahkan ke keranjang');

//redirect to cart
return $this->redirect('/cart', navigate: true);
Langkah 3 - Menambahkan Button Add to Cart
Sekarang kita akan membuat sebuah button di dalam view component, dimana nantinya component ini akan kita panggil di dalam detail product
Silahkan teman-teman buka file resources/views/livewire/web/cart/btn-add-to-cart-full.blade.php, kemudian ubah kode-nya menjadi seperti berikut ini.
        xml


     <div class="container fixed-total">
    <div class="row justify-content-center">
        <div class="col-12 col-md-6 mb-5">
            <div class="mt-5">
                <div class="">
                    <button wire:click="addToCart({{ $product_id }})" class="btn btn-orange-2 rounded w-100">
                        <svg xmlns="http://www.w3.org/2000/svg" width="1.2em" height="1.2em" fill="currentColor" class="bi bi-cart3 mb-2 mt-1" viewBox="0 0 16 16">
                            <path d="M0 1.5A.5.5 0 0 1 .5 1H2a.5.5 0 0 1 .485.379L2.89 3H14.5a.5.5 0 0 1 .49.598l-1 5a.5.5 0 0 1-.465.401l-9.397.472L4.415 11H13a.5.5 0 0 1 0 1H4a.5.5 0 0 1-.491-.408L2.01 3.607 1.61 2H.5a.5.5 0 0 1-.5-.5M3.102 4l.84 4.479 9.144-.459L13.89 4zM5 12a2 2 0 1 0 0 4 2 2 0 0 0 0-4m7 0a2 2 0 1 0 0 4 2 2 0 0 0 0-4m-7 1a1 1 0 1 1 0 2 1 1 0 0 1 0-2m7 0a1 1 0 1 1 0 2 1 1 0 0 1 0-2" />
                        </svg>
                        <span class="ms-1">Add to Cart</span>
                    </button>
                </div>
            </div>
        </div>
    </div>
</div>
Di atas kita menambahkan event wire:click yang mengarah ke method addToCart yang sudah kita buat sebelumnya pada class component dan di dalamnya kita berikan parameter $product_id, dimana nantinya value-nya akan berisi data props yang dikirimkan oleh parent component.
Langkah 4 - Memanggil Component BtnAddToCartFull di Product Show
Silahkan teman-teman buka file resources/views/livewire/web/products/show.blade.php, kemudian ubah kode-nya menjadi seperti berikut ini.
typescript
@section('title')
{{ $product->title }} - Eat Your Favorite Foods
@stop
@section('keywords')
Food Store, Eat Your Favorite Foods
@stop
@section('description')
{{ $product->description }}
@stop
@section('image')
{{ asset('/storage/' . $product->image) }}
@stop
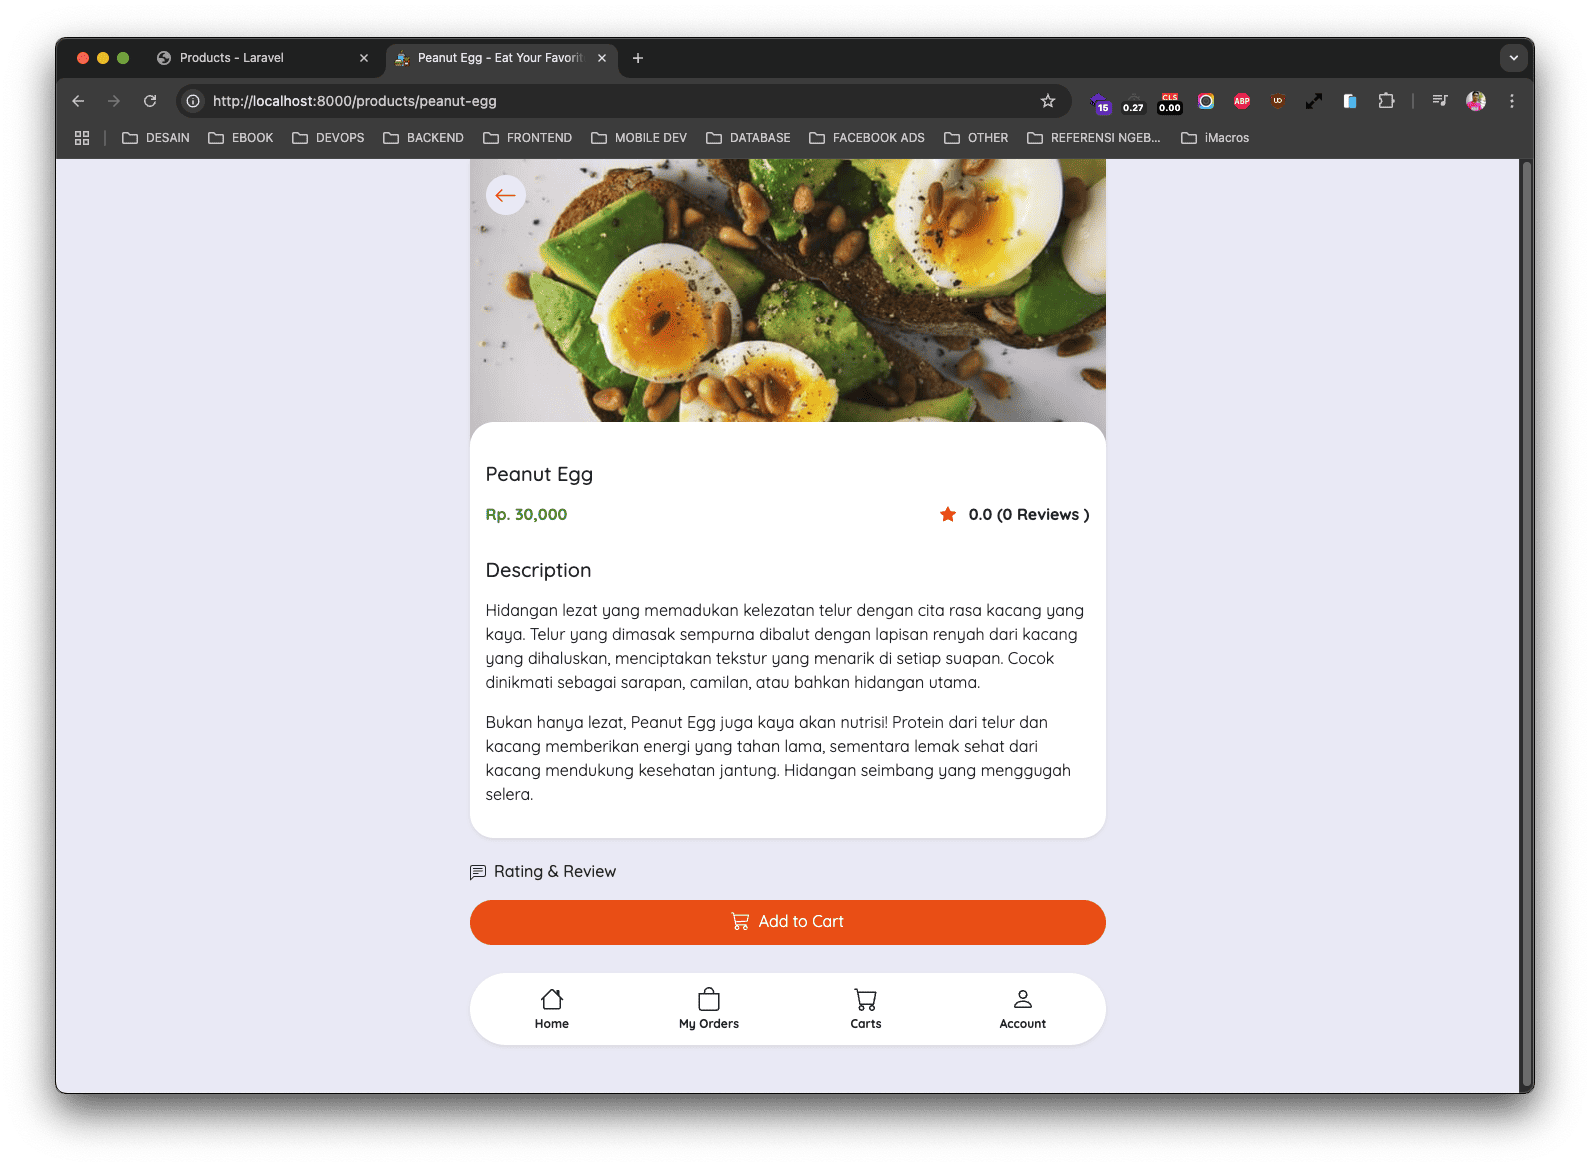
<div class="container" style="margin-bottom: 200px;">
<div class="row justify-content-center mt-0">
<div class="col-md-6">
<div class="bg-white rounded-bottom-custom shadow-sm p-3 mb-5" :style="{ backgroundImage: `url({{ asset('storage/' . $product->image) }})`,height: '300px',backgroundSize: 'cover',backgroundPosition: 'center'}">
<div class="d-flex justify-content-start">
<div>
<x-buttons.back />
</div>
</div>
</div>
<div class="card border-0 shadow-sm rounded" style="margin-top: -85px;">
<div class="card-body mt-4">
<h5>{{ $product->title }}</h5>
<div class="d-flex justify-content-between mt-3">
<div>
<p class="fw-bold text-success">Rp. {{ number_format($product->price) }}</p>
</div>
<div>
<svg xmlns="http://www.w3.org/2000/svg" width="16" height="16" fill="currentColor" class="bi bi-star-fill text-orange mb-1 me-2" viewBox="0 0 16 16">
<path d="M3.612 15.443c-.386.198-.824-.149-.746-.592l.83-4.73L.173 6.765c-.329-.314-.158-.888.283-.95l4.898-.696L7.538.792c.197-.39.73-.39.927 0l2.184 4.327 4.898.696c.441.062.612.636.282.95l-3.522 3.356.83 4.73c.078.443-.36.79-.746.592L8 13.187l-4.389 2.256z" />
</svg>
<span class="fw-bold">{{ number_format($product->ratings_avg_rating, 1) }} ({{ $product->ratings_count }} Reviews )</span>
</div>
</div>
<h5 class="mt-3">Description</h5>
<p>
{!! $product->description !!}
</p>
</div>
</div>
<h6 class="mt-4">
<svg xmlns="http://www.w3.org/2000/svg" width="16" height="16" fill="currentColor" class="bi bi-chat-left-text me-1" viewBox="0 0 16 16">
<path d="M14 1a1 1 0 0 1 1 1v8a1 1 0 0 1-1 1H4.414A2 2 0 0 0 3 11.586l-2 2V2a1 1 0 0 1 1-1zM2 0a2 2 0 0 0-2 2v12.793a.5.5 0 0 0 .854.353l2.853-2.853A1 1 0 0 1 4.414 12H14a2 2 0 0 0 2-2V2a2 2 0 0 0-2-2z" />
<path d="M3 3.5a.5.5 0 0 1 .5-.5h9a.5.5 0 0 1 0 1h-9a.5.5 0 0 1-.5-.5M3 6a.5.5 0 0 1 .5-.5h9a.5.5 0 0 1 0 1h-9A.5.5 0 0 1 3 6m0 2.5a.5.5 0 0 1 .5-.5h5a.5.5 0 0 1 0 1h-5a.5.5 0 0 1-.5-.5" />
</svg>
Rating & Review
</h6>
<div class="row mt-3">
@foreach($product->ratings()->latest()->get() as $rating)
<div class="col-6 mb-4">
<div class="card border-0 shadow-sm rounded h-100">
<div class="card-body">
<!-- Display Stars -->
<div class="d-flex justify-content-center mt-3">
@for ($i = 1; $i <= 5; $i++) <label for="star{{ $i }}-{{ $rating->id }}">
<svg xmlns="http://www.w3.org/2000/svg" width="32" height="32" fill="currentColor" class="cursor-pointer @if($rating->rating >= $i) text-warning @else text-secondary @endif" viewBox="0 0 20 20">
<path d="M10 15l-5.878 3.09 1.123-6.545L.489 6.91l6.572-.955L10 0l2.939 5.955 6.572.955-4.756 4.635 1.123 6.545z" />
</svg>
</label>
@endfor
</div>
<!-- Review text -->
<blockquote class="bsb-blockquote-icon mb-3 mt-4">
<p>{{ $rating->review }}</p>
</blockquote>
<!-- Customer Info -->
<figure class="d-flex align-items-center m-0 p-0">
<img class="img-fluid rounded-circle m-0 border border-3" width="50" loading="lazy" src="{{ asset('/storage/avatars/' . $rating->customer->image) }}" alt="{{ $rating->customer->name }}">
<figcaption class="ms-2 mt-1">
<h6 class="mb-1">{{ $rating->customer->name }}</h6>
</figcaption>
</figure>
</div>
</div>
</div>
@endforeach
</div>
<!-- button add to cart -->
<livewire:web.cart.btn-add-to-cart-full :product_id="$product->id" />
</div>
</div>
</div>
Di atas, kita memanggil component BtnAddToCartFull yang sudah kita buat sebelumnya.
        sql


     <livewire:web.cart.btn-add-to-cart-full :product_id="$product->id" />
Dan di dalamnya kita juga mengirimkan props :product_id dan berisi id dari data product.
Langkah 5 - Uji Coba Menampilkan Button Add To Cart
Sekarang jika teman-teman buka salah satu data product, maka sekarang di dalamnya akan terdapat button untuk proses add to cart.